

7 Food Photography Tips For Beginners
There are few things that can turn an average food photo into a great one. Have you ever had a beautiful piece of food in front of you but just couldn’t take the right photo? We feel your pain, that’s why we decided to reveal a few ways to take Instagram worthy food photos and teach you the best food photography tips for beginners.
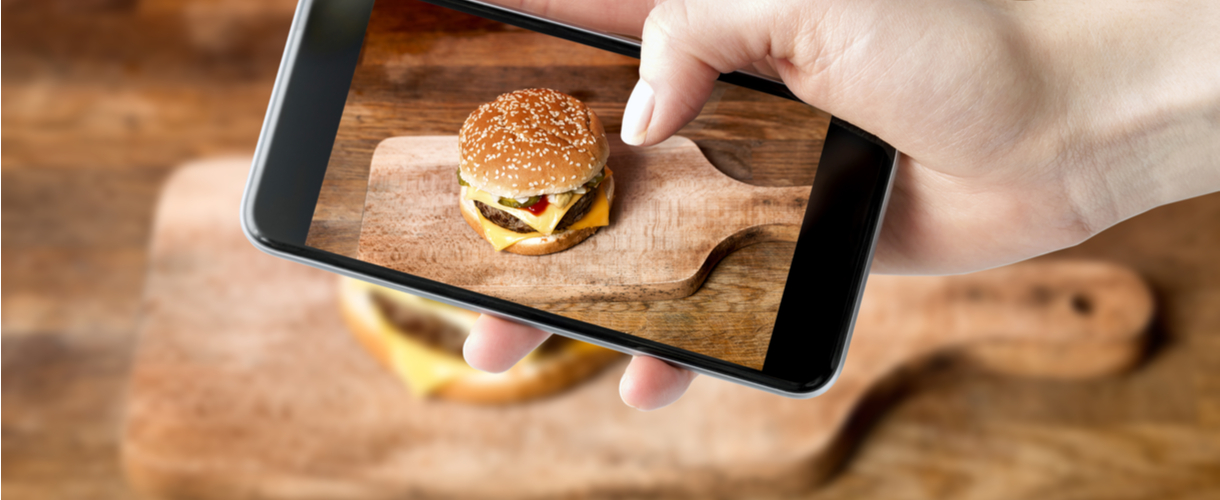
1. Action Shots
There are a number of ways you can capture a mouth-watering action shot of your food. Use your iPhone or android to take photos of your food while you’re preparing it; smartphones are usually more convenient to use than larger digital cameras.
Types of action shots:
• You could improve your shot by taking a bite out of your food to show off its best assets.
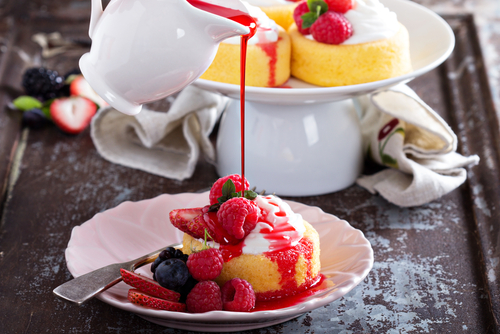
• Make your food drool-worthy by pouring gravy, milk, custard cream or any suitable liquid over the dish.
• Show-off your brand new utensils in the shots, that new sieve of yours sifting the flour or that flashy pan tossing up the meat.
‘Extra’ slice of advice – Photographing Cakes
With the Great British Bake Off just off our screens, we thought we’d give you this great slice of advice. Neatly cut out slices of your cake and show the inside of it and add decorations, e.g fancy napkins, confetti or a shiny piece of cutlery.
2. Presentation
Out of all the food photography tips, presentation is the most crucial. The presentation can turn any boring looking dish into a masterpiece with some creativity and imagination. Arrange your ingredients or finished dish artfully and it will look irresistible.
Types of presentation:
• Stack and arrange your food vertically instead of laying it flat on the plate.
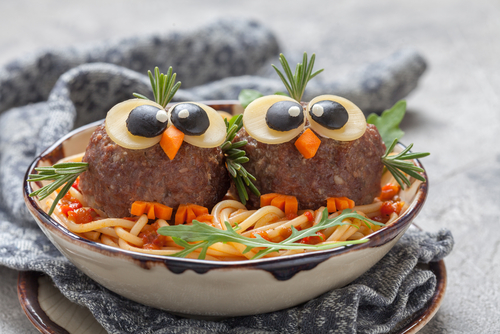
• Make a creative picture out of your food; there are plenty of examples online, from funny faces to cute animals.
3. Using colours in your food
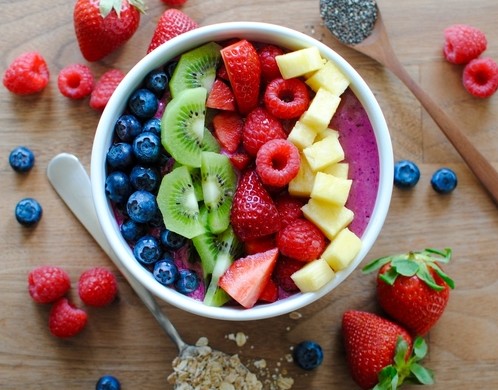
To create a vibrant feel to your food, place foods with contrasting colours next to one another, this will help the food pop out of the image. Blending colours is another trick which you could use. If you have different shades of the same colour in your food then bring them together to create fluidity.
4. Props
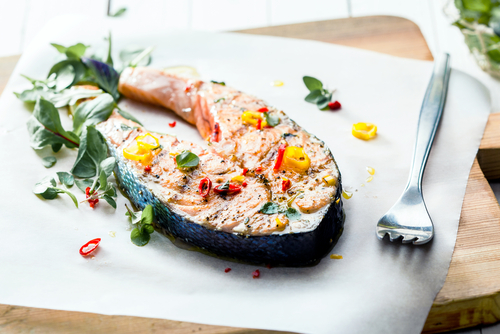
The correct props can complement the overall quality of the image and add another layer to the photo. However, try not to add to many decorations otherwise this could draw attention away from the food itself.
Types of props:
• Round plates are very common in photos of food, why not try and be a bit more unique and go with unusually shaped plates to help your food get the attention it needs.
• Displaying cooking on dirty plates can ruin a photo; instead, use clean plates and utensils to add a sense of quality and freshness to your food.
• Do you have some fancy, vintage cooking ware which you want to exhibit? Before you dish up your food, take a few snaps of it inside the container.
5. Natural light
This is one of the golden rules of photography, which applies to photographing food as well. Artificial light can distort the colour of your dish and sometimes add a yellow tinge to the picture. To preserve these colours you should use natural lighting. Find the best environment for natural lighting and watch how it transforms the mood of your food.

6. Angles
Some foods look better at certain angles than others. To find the best shot of your dish you will need to experiment with a variety of angles.
Types of angles:
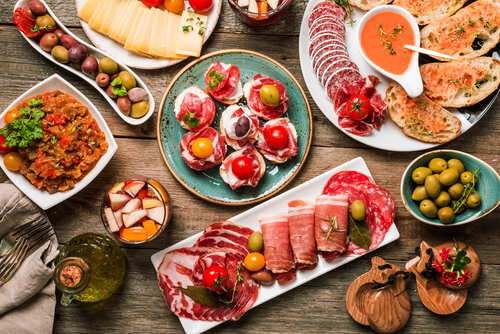
• Aerial shots are great for creating a 1st person perspective of the dish and helps reveal props.
• Head on angles present food in a clean and pronounced way. This angle can benefit images featuring a row of cupcakes or a line of drinks.
• Close-ups are ideal for capturing the intricate details of your dish.
• Shoot diagonally, with the piece of food starting in one corner and ending in the opposite, to get an interesting perspective.
• Tilt your camera to the right; this clever trick encourages the viewer to tilt their head counter-clockwise, making the dish more enticing.

7. Filters
How to Instagram Food Like a Pro
Don’t overdo it on the Instagram filters; too much editing could ruin your image. However, Juno and Ludwig are recommended for food on white backgrounds.
You may find you’re stretched by Instagram’s filters, but there are plenty of apps to solve that problem. Lightroom Mobile, Photoshop Fix and ‘A Colour Story’ are a few of many useful and free photo editing apps.
Get In Touch
Hopefully, now that you’ve been equipped with these food photography tips, you can be well on your way to snapping amazing Instagram food shots of your cooking. Have you got any beautiful photos of food? Share them with us – Get in touch on Facebook or Twitter.

