


Cameras To Consider Purchasing In 2024
As technology develops so does what we take pictures on!
As the popularity of social media continues to be at a high, people are more than ever focused on posting and taking quality pictures and videos to get the most likes and inevitably go ‘viral’.
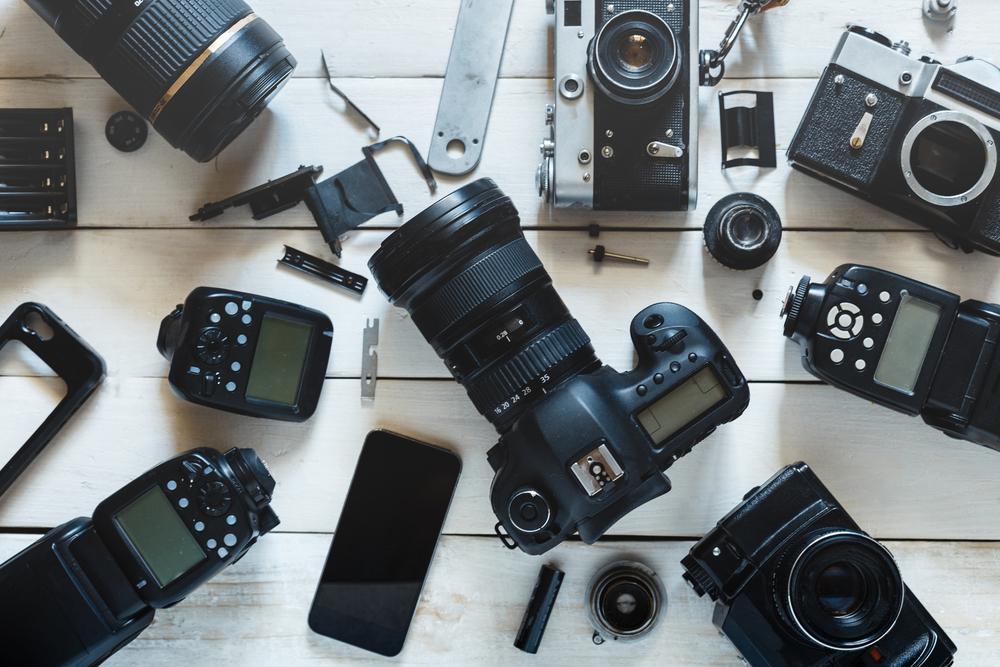
When you think of high-quality pictures you think of a DSLR camera and big expensive cameras. But a DSLR is not the only type of camera you can purchase to take quality pictures and videos.
Take a look at what we think you should be taking photos on in 2024 rather than a DSLR!
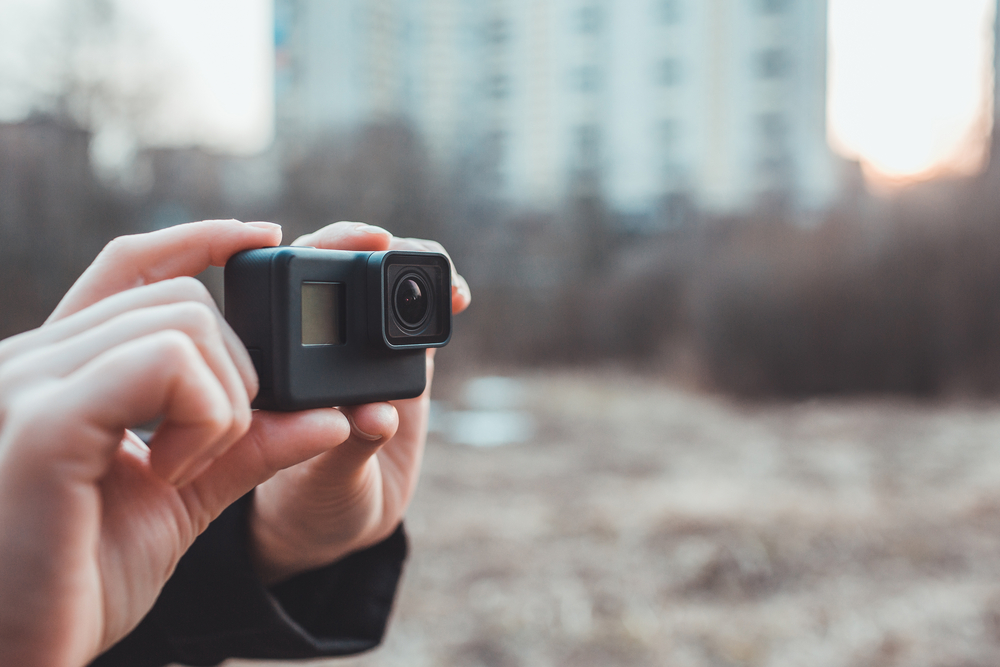
GoPro HERO12 Black Action Camera
Size and weight are an important factor to consider when purchasing a camera!
DSLR cameras are also considerably bigger and weigh considerably more than a GoPro, especially with a lens attached. Consider what you would prefer walking around with all day!
At only 71.0W x 55.0H x 33.6D(mm) this pocket-size action camera has a max photo resolution of 27.13 megapixels and a 5.3K video resolution and only weighs 153g! Better still the GoPro Hero12 is waterproof up to 33 ft! Perfect for some quality action shots out on the water.
From mountain biking to scuba diving to filming your children running around the park, this action camera will capture smooth footage with its hypersmooth 6.0 in-camera video stabilisation.
So if you’re looking for a camera to capture all your amazing adventures, the GoPro Hero12 is the perfect camera for you.
If the HERO12 is a little over budget take a look at some older GoPro models which have some of the same qualities but for a cheaper price!
Insta360 X3
Shoot first and frame later with the Insta360 X3! This pocket sized action camera captures 360 degrees of footage allowing you to get creative when filming. Using the Insta360 app you can choose the best angles you’ve captured after you have finished filming.
The Insta360 X3 is 46.0W x 114.0H x 33.1D (mm) and weighs 180g, slightly more than the GoPro Hero5 but relatively light compared to most DSLR cameras (without a lens)!
Our favourite thing about the Insta360 X3 is the invisible selfie stick. Unlike other selfie sticks the invisible selfie stick disappears in your edits after filming allowing you to capture unobstructed action around you. Better still, the selfie stick folds out into a tripod. So you get 2 in 1!
The camera comes with a 2.29″ touchscreen with tempered glass protection to allow you to clearly preview what you are capturing.
This device is not just for action sports, it’s also great for travelling. The 360 degree camera gives you the freedom to take in every minute without having to worry about framing your photos and videos.
DJI Mini 2 Drone
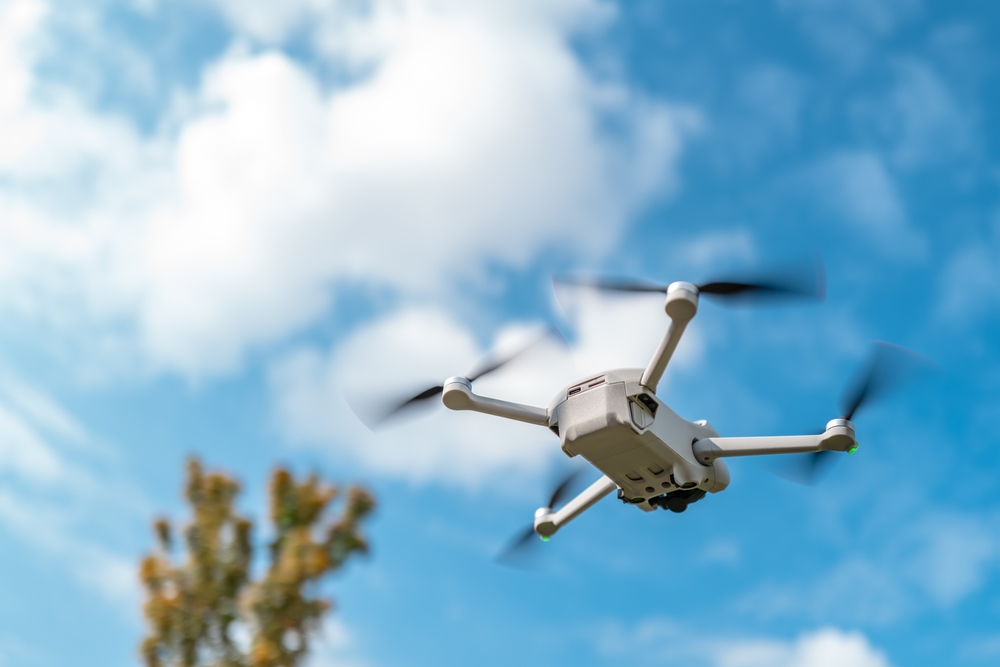
It may not be classed as a camera but the DJI Mini 2 Drone has an integrated camera perfect for aerial photography.
With a 12MP camera, 4K/30fps video and a 3-axis motorised gimbal your content will be sure to impress.
The DJI Mini 2 Drone helps you capture a unique perspective that not many cameras can’t give you. Using the DJI Fly app, a remote controller and your smartphone you can fly your drone and record amazing videos.
The drone has a max flight time of 31 minutes and weighs only 249g fitting into the palm of your hand making it ideal for travelling. Auto takeoff and a return to home functions make it easy for just about anyone to fly this drone.
Be sure to do your research before purchasing a drone to understand where you can fly your chosen drone and if you’ll need a drone licence. The Civil Aviation Authority website has lots of important information about flying a drone including The Drone Code.
Don’t forget to register your drone before flying!
A Smartphone
You may already have an amazing camera glued to your hands!
If you have one of the latest smartphones you may not need to consider buying a camera!
The capability of smartphones is at an all time high and cameras on smartphones can be just as good if not better than some DSLR cameras!
Take the iPhone 15 as an example. With a 48MP main camera, this smartphone makes it easy for nearly everyone to take high-resolution pictures. Better still, most of us already have one sat in our pockets!
You can also take live photos! This captures what happens before and after you take a photo allowing you to capture different key photos that a single shot may have missed.
A smartphone is by far the most convenient option for many budding photographers. It’s not often we leave the house without our smartphones so you will always have a camera with you ready to capture your amazing memories wherever you go!
But I don’t have a steady hand I hear you say! Not a problem! Get yourself a handheld gimbal. Gimbals are designed to keep your phone steady and flat so you can capture the perfect shot no matter how you are moving. Simply attach your phone to a smartphone gimbal and let the stabiliser do all the work for you.
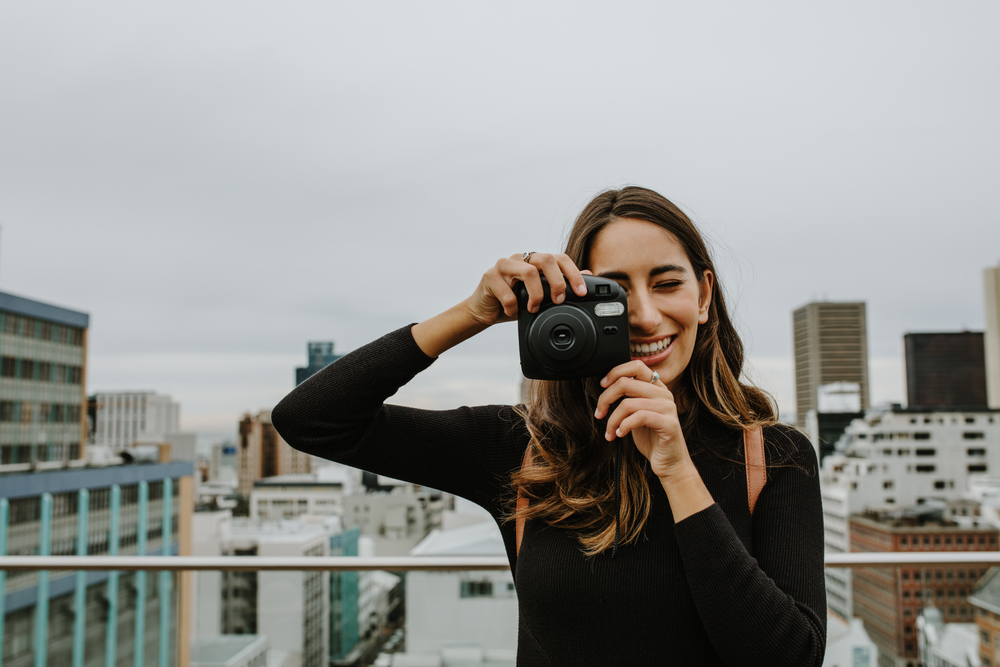
Fujifilm Instax Mini 12 Instant Polaroid Camera
We love Polaroid cameras!
Fujifilm Instax Mini 12 is one of our favourites.
We all love a selfie! The selfie mirror on the front of this camera helps you make sure everyone is in shot so you don’t cut anyone out. This paired with close-up mode and automatic flash control helps you capture the perfect selfie!
There is no need to mess around with any settings on the camera. Simply aim and snap then let automatic exposure and flash control do the work for you! Prints take roughly 5 seconds so you can get straight back to snapping more memories.
With five colours to choose from you can pick a bubbly ‘inflatable’ iconic design camera to suit your personality.
Although you may not be able to get a digital copy of the pictures you take as soon as you take them, the instax app allows you to scan your prints so you can share a digital copy of your photos!
If you’re after a more classic looking polaroid camera check out the INSTAX mini Evo.
Framing Your Photography
Your photos deserve to be framed! Pair your amazing memories with a high-quality picture frame to create an amazing display in your home.
Here at Picture Frames Express, our frames are available in a variety of sizes and styles so you will be sure to find the perfect frame for your photos! Why not create a gallery wall in your home full of your photography? You can frame your photos in the same style of picture frame or mix and match different picture frames for an edgy look!

