


Steps to Collage & Multi Picture Framing
There’s so much that you can do with frames whether you’re hanging them up on the wall or putting them up on a mantelpiece you can use them as your feature piece or to enhance your pictures. If you are looking to display multiple pictures have a read below for steps to creating a photo wall or your own multiframe.
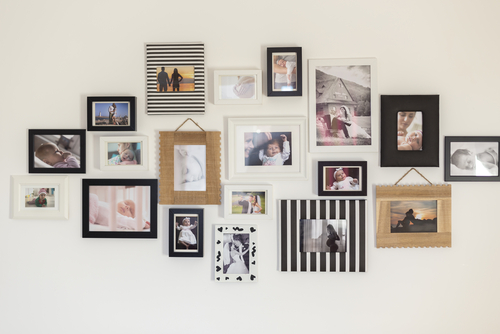
Creating a Collage Photo Wall
Step 1 : Pick What You’re Going to Hang
First things first what are you looking to hang? Is it a collection of family photos from a holiday, memories from a special event or a collection of artwork and photos you’ve bought together. Make sure you have your selection all picked out so you know how many frames to get together and what kind of colours/textures will work with your choices.
Step 2 : Pick an Open Space
Photo collage walls take up quite a bit of room so make sure you have a space that will work for you. Try to avoid small rooms or walls where furniture could compete with your display, you want it to be a feature in itself.
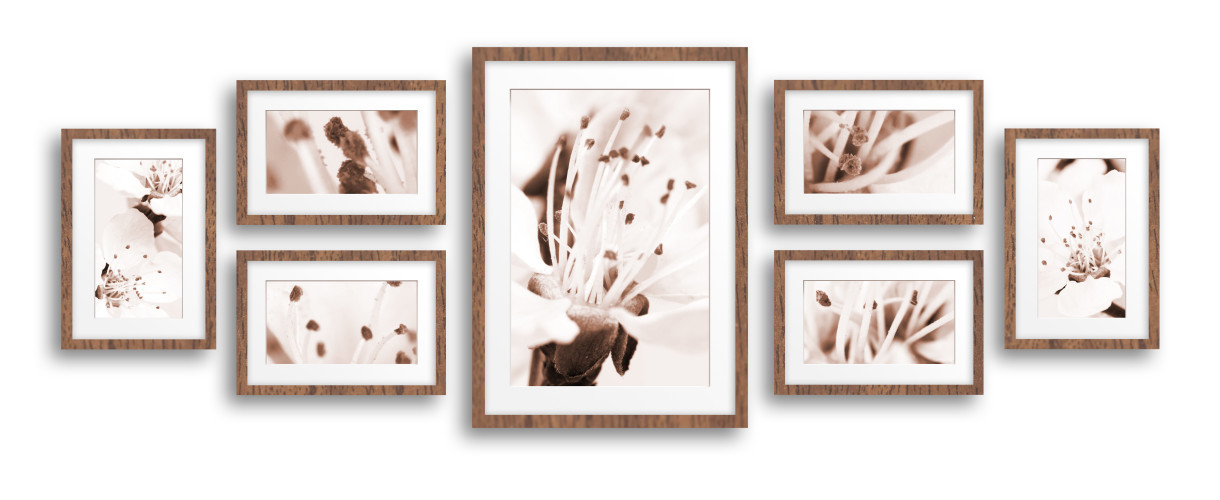
Step 3 : Pick Your Frames
As a rule when picking your frames go for either unified images and frames, or if you have different images don’t worry too much about matching frames and stick to similar styles. Don’t get worried about looking cluttered and uncalculated, people will see there is a method to the madness.
Step 4 : Make It Perfect on Paper
Holes are a permanent deal so before you get punching them into your wall and finding you don’t like the finished product or you misplace a hole, trial it out. All you need is to grab a big sheet of paper and have your frames all ready, have a play around with how your layout will go.
Once you’ve got your perfect layout draw around your frames onto your sheet and cut your paper frames out so you can test your layout by sticking it onto the wall (that way you can get a feel for how it’ll look in reality and be able to consider things such as eye level, shape, and space better). If you’re really clever about it, you can also mark up where you need your wall holes to be using your paper frames.
Need more info? Check out our guide to positioning a frame.
Step 5 : Get Hanging
It’s time to get hanging, remove each of your practice papers as you hang up your frames and enjoy your finished display!
Some Handy Tips:
#1 think eye levels, where will the picture collage be positioned in regards to people’s eye.
#2 give your display a focal point to draw the eye initially
#3 it doesn’t just have to be walls, you can follow a similar setup to create a shelf photo arrangement.
#4 not good with creative layouts? Just give ‘picture frame wall display template’ a Google and you’re sure to find tonnes of inspiration!
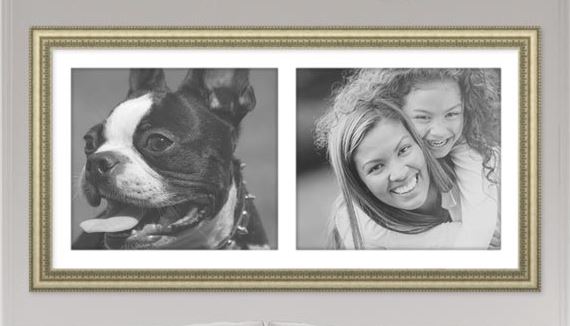
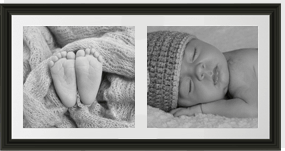
Multi Picture Frames
Not sure that wall display collages are the one for you? Worry not, multiframes are a great alternative saving you all the laying out and picking out of more than one frame, with this, you simply pick your frame, the number of apertures, input your sizing and barr filling your own custom built frame, we do the rest.
See for yourself have a browse of our online multi-frame designer.
Filling a multi photo frame is easy you just need to pick if you’re going for a planned and cohesive look or more scrapbooking style. Where with standard frame photo walls you can mix and match your frames as you mix and match your pictures, instead, with this you only need to pick your style for your photos and one frame. Because of this, we’d recommend sticking with related images being it art or photo, memories from an event or you’re thinking of telling a story that way it all looks in sync. Similarly, we’d say it’s a good plan to stick to either coloured or black and white pieces so you have one defined style.