



Creative Layout Ideas for Multi Aperture Picture Frames
Article Overview
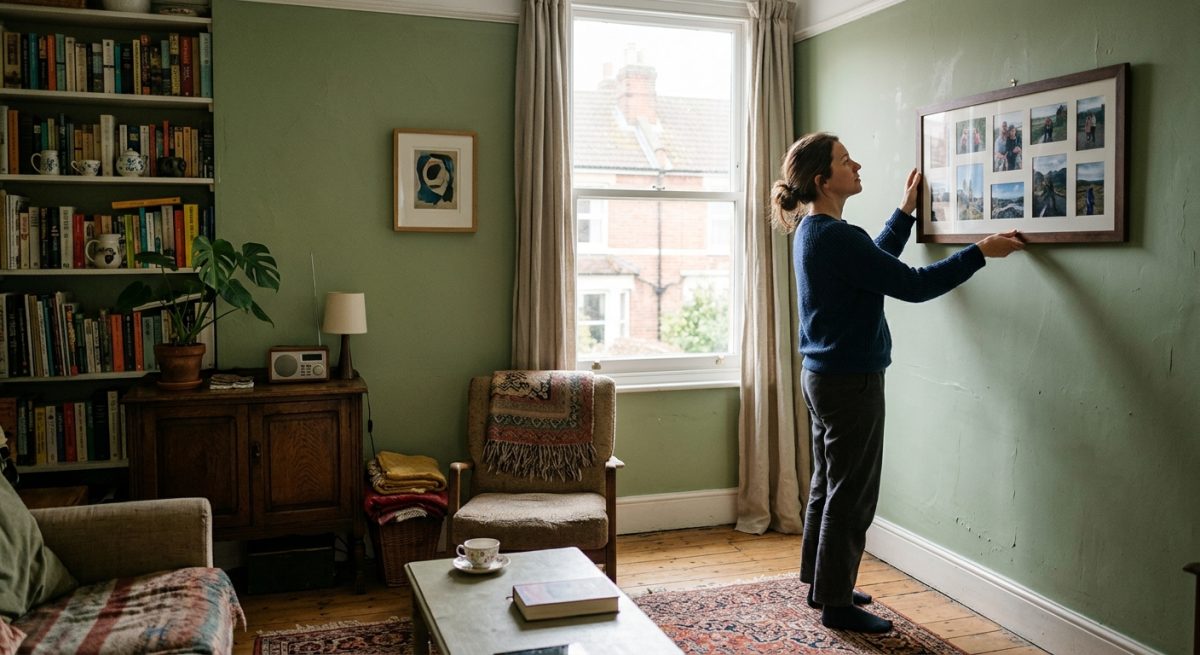
Multi-aperture photo frames solve the problem of messy, uneven photo displays by grouping several prints inside a single border. This guide walks you through practical layout designs, accurate measuring techniques, and smart colour choices so you can build a clean, balanced display without turning your plasterboard into Swiss cheese.
You have a collection of favourite prints from a recent wedding, a family holiday, or a portfolio shoot, and you want them up on the living room wall. The natural instinct is to buy 5 or 6 separate frames and hang them together as a gallery wall. Once you get the hammer out, though, aligning all those separate edges across a large wall space becomes a proper headache.
A single millimetre out on one hook throws the whole arrangement off balance.
When you leave a display looking slightly wonky, it costs you hours of wasted weekends, extra money on unused frames, and the stress of filling and repainting drilled holes. For example, if you buy 6 off-the-shelf frames at £15 each and spend 2 hours trying to level them, one knocked frame still ruins the visual line and leaves you staring at crooked gaps every evening.
This guide shows you how to avoid that clutter by planning a unified layout inside one made-to-measure frame. Multi-aperture photo frames hold all your prints in a single precision-cut mount, which means you only ever have to measure and hang 1 frame. We will cover layout styles, measuring rules, and how to design custom picture frames with Picture Frames Express so your photos fit together first time.
KEY TAKEAWAYS
- –Group 3 to 8 related prints inside a single custom frame to avoid drilling multiple holes and fighting with crooked wall alignments.
- –Leave at least 15mm to 20mm of mount board between each window so individual photos have room to breathe without overlapping behind the card.
- –Overlap your print edges by 5mm on all 4 sides of the aperture opening to stop pictures slipping through the mount over time.
Ready to Design Your Perfect Photo Display?
Create a clean and balanced look with our bespoke multi-aperture frames designed to fit your favourite memories perfectly.
Creative layout styles for multi-aperture photo frames
The shape and direction of your photos should always dictate how you arrange them inside the mount. Trying to force mismatched snapshots into a rigid off-the-shelf template usually leaves you with awkward crops, like chopped-off foreheads or missing architecture. Custom multi-aperture photo frames let you design the openings around the exact prints you already love.
Symmetrical grids and linear sequences
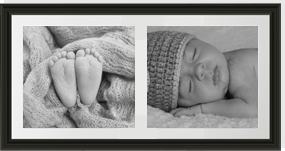
Square snapshots from your mobile or a series of black-and-white architecture prints look sharpest when they sit in a strict, even pattern. A symmetrical grid of 4 or 6 identical windows brings instant calm to a busy hallway or staircase.
Linear rows work best when your photos tell a story from start to finish. You might line up 3 portrait openings side by side to show a puppy growing over its first year, or arrange 4 landscape shots vertically to fit a narrow pillar in the kitchen.
How can you mix different photo sizes in one frame?
Most collections include one standout image alongside a handful of smaller candid moments. You can give that main photo the attention it deserves by placing a larger 8×10 inch window on one side and flanking it with smaller apertures.
A few tried-and-tested combinations work particularly well for mixed collections
- A central 8×10 inch portrait opening flanked by two 4×6 inch windows on either side for formal graduation or milestone birthday sets.
- One wide panoramic print across the top with 3 smaller square windows underneath to capture a scenic coast walk and its smaller details.
- An offset cluster combining 2 landscape and 2 portrait openings so their outer edges form one neat, level rectangle.
The secret to balancing different sizes is keeping the outer perimeter of the whole group aligned. Even when the inner windows vary in shape, a straight outer boundary stops the frame from feeling lopsided on the wall.
Creative shapes for memorabilia and keepsakes
Paper tickets, pressed flowers, and race medals rarely fit into standard photo dimensions. Putting a concert wristband and a vinyl sleeve alongside 2 gig photos turns a box of cupboard clutter into a proper talking point for your study.
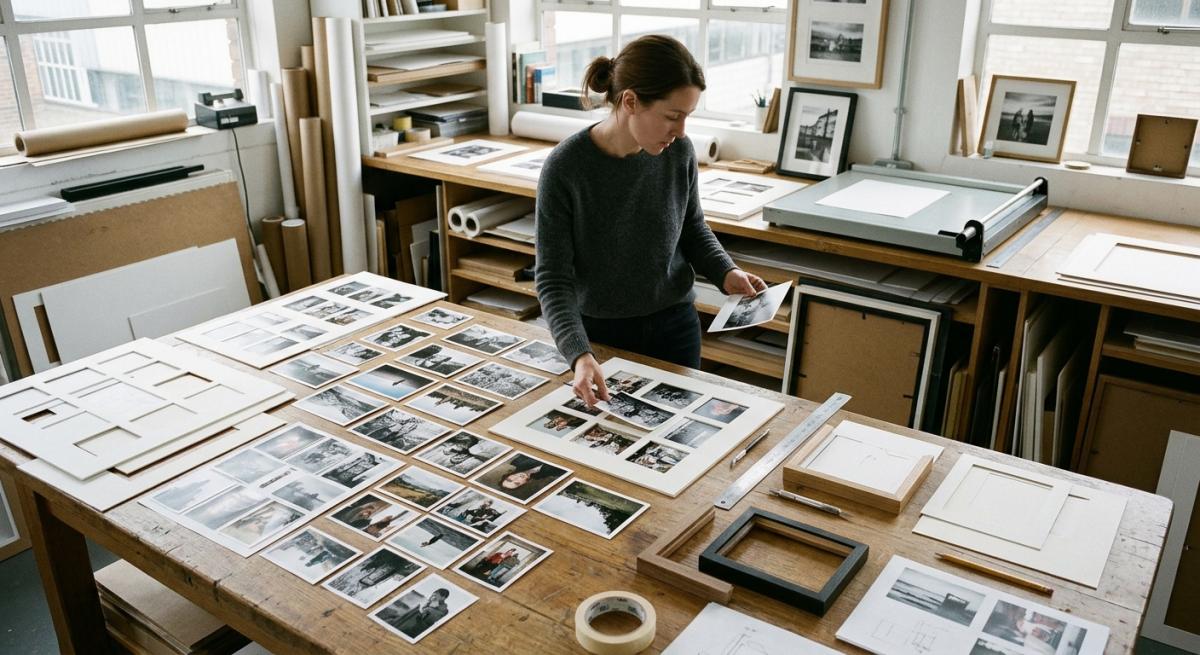
At Picture Frames Express, our online designer lets you enter exact millimetre measurements for every single cut-out, so your programme or postcard sits cleanly beside your standard prints. You just lay your items out on a table first to find a balance that feels right to your eye, then build the mount windows to match.
| Layout Style | Best Photo Types | Ideal Aperture Count | Recommended Mount Colour | Best Room Placement |
|---|---|---|---|---|
| Symmetrical Grid | Square prints and architectural details | 4 to 9 apertures | Bright white or soft grey | Modern living rooms and home offices |
| Central Hero Feature | 1 large wedding or baby portrait with smaller candid shots | 3 to 7 apertures | Antique cream or warm ivory | Above a fireplace or main sofa |
| Panoramic Row | Holiday landscapes and chronological growth sequences | 3 to 5 apertures | Charcoal grey or jet black | Narrow hallways and above beds |
| Asymmetrical Collage | Mixed orientation family snaps and ticket stubs | 5 to 12 apertures | Conservation white or double mount | Staircase walls and cosy snug areas |
How do you measure and space photos for a custom mount?
Grab a steel ruler and measure the physical paper in front of you before typing anything into an online designer. Standard photo lab prints labelled as 6×4 inches often vary by 2mm or 3mm depending on which printer cut the roll. Working in metric measurements makes the maths much simpler when you start adding up gaps and borders across a large layout.
How much smaller should the mount window be than the photo?
Cut an opening to the exact size of your print and the paper will eventually bow and fall straight through the hole. Deducting 10mm from both the width and the height of your photo gives you that 5mm image overlap on all 4 sides that we mentioned earlier. For a print that measures exactly 150mm by 100mm, you need an aperture size of 140mm by 90mm.
That hidden 5mm margin sits flat behind the bevelled edge of the card. You only need to check that this overlap does not chop off key details like someone’s feet or a handwritten signature near the bottom edge of the paper.
Spacing the bridges and outer borders
The strips of mount board separating your windows are called bridges in the framing trade. Leaving at least 15mm to 20mm for each bridge stops the photos from bumping into one another on the reverse side when you lay them down.
Your outer border between the apertures and the frame moulding usually needs to be wider than those internal bridges. A 50mm to 60mm outer margin draws the viewer’s eye inward and gives multi-aperture photo frames a balanced gallery weight on the wall. Many framers make the bottom border 5mm deeper than the top and sides to counteract the optical illusion where artworks appear to sink slightly when hung at eye level.
A worked example for a 3-photo row
Suppose a local property photographer is framing 3 landscape exterior shots of a farmhouse conversion to hang in the estate agent’s front window. Each print measures 210mm wide by 150mm high.
Deducting 10mm from each dimension gives 3 individual openings of 200mm by 140mm. With two 20mm bridges separating the 3 windows and a 50mm outer border on all 4 sides, the total width comes to 740mm (50 + 200 + 20 + 200 + 20 + 200 + 50) and the height comes to 240mm (50 + 140 + 50).
Writing those figures down in millimetres on a rough paper sketch lets you double-check the total glass and frame size before you cut or order anything.
How to choose the right mount colour and frame moulding
Several different prints sitting inside one border need a unifying element so they don’t compete for attention. The mount board does the heavy lifting here, acting as a neutral resting space for the eye between each image.
Which mount colour works best for multiple photos?
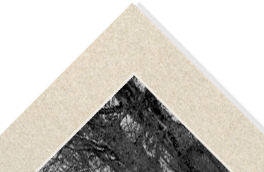
Soft neutrals like antique white, warm ivory, or pale grey suit almost any group of pictures. Brilliant white can sometimes make slightly older family snapshots look yellow by comparison, whereas a warmer off-white blends with both modern digital prints and faded film photographs.
A few practical guidelines will help you narrow down the options when your pictures have very different tones.
- Pick a subtle background shade from one of your main prints so the board ties the whole colour palette together naturally.
- Test a dark charcoal or black mount against bright studio portraits because deep tones push vibrant colours forward.
- Choose a conservation-grade, acid-free mount so the crisp bevelled edge stays bright white and doesn’t discolour your prints over the years.
Double mounting is another great trick used by professional framers. By placing a second, thinner mount underneath with just 3mm to 5mm showing around each window, you can add a tiny flash of colour that matches a detail in the photos without overwhelming the display.
Matching the frame moulding to your photos and room
Multi-aperture photo frames often end up much larger than standard single frames once you factor in all the images and the spacing between them. Your moulding needs enough strength to hold the weight of the glazing and backing board without bowing in the middle.
Slim aluminium frames in matt black or brushed silver give a crisp, modern border that suits geometric grids without adding too much bulk to the wall. If your home leans more traditional, a natural oak or ash profile with a visible wood grain brings warmth to baby photos and countryside walks.
Wait until your mount and photos are settled before picking the outer frame. When you build your design online with Picture Frames Express, you can preview different wood and metal mouldings around your exact layout so you know the finished piece will suit your room. Aim for a moulding width between 20mm and 35mm for frames holding 4 or more prints, as anything thinner can struggle with the weight over time.
Common mistakes to avoid when taping and mounting multiple prints
Getting all your prints lined up straight at the same time takes a steady hand and the right materials. Many people rush this last stage and end up taking the whole frame apart 2 weeks later because a picture has slipped down inside its window.
Why do photos wrinkle inside a mount over time?
Paper naturally expands and contracts as the temperature and humidity in your home change throughout the year. If you tape down all 4 edges of a photograph, the paper has nowhere to go when your central heating kicks in, which causes unsightly photo buckling across the middle of the image.
The safest way to attach each print is the T-hinge method along the top edge only. Stick a 30mm strip of acid-free framing tape to the back of your photo so half of it pokes out the top, then lock that sticky flap down onto the reverse of the mount with a second cross-piece. Because the bottom and sides hang completely free, your print stays dead flat while the rigid MDF backing board holds everything snug once the clips go on.
Household tapes that ruin prints and mounts
Standard clear sticky tape and brown parcel tape are the worst culprits for ruining good photography. Within 6 to 12 months, their cheap glue dries out and loses its grip, while the chemicals soak through the paper and leave a greasy yellow stain right across the front of your print.
Double-sided foam pads cause a different headache in multi-aperture photo frames. Because those pads add 2mm of extra thickness behind each picture, the mount board cannot sit flush against the prints, leaving dark shadow gaps around the bevelled edges.
Stick to proper low-tack conservation tape or gummed linen tape. It holds weight securely for decades and peels away cleanly if you ever decide to swap a photo out.
Dust and overlap traps behind the glass
When you place 2 openings quite close together, the uncropped margins of your prints can easily collide at the back of the board. Trim any bulky white borders before you start taping, though you still need that 5mm overlap around each window so the raw paper edge never peeks through the front.
Acrylic glazing also builds up a slight static charge when you peel off the protective film, which pulls lint straight onto the inside of your frame. Give the sheet a quick wipe with a dry microfibre cloth just before you drop the mounted prints in, then seal the back immediately.
When to order a bespoke cut mount from Picture Frames Express
Standard high-street mounts work fine if all your prints come straight from a standard lab run at 6×4 inches. The trouble starts the moment you have an awkward set of sizes or a specific wall space to fill.
Buying off-the-shelf multi-aperture photo frames often forces you to trim the edges off treasured pictures just to make them fit the pre-cut holes.
Signs your photos need a made-to-measure mount
A custom layout saves you from compromising on how your memories look on the wall. Several everyday framing projects call for custom dimensions straight away.
- Vintage family portraits or old Polaroids that do not match modern metric or imperial print sizes.
- Signed sports programmes and concert passes that need to sit beside an action shot without getting squashed.
- Panorama shots cut to unusual ratios where a standard window would chop off the horizon.
- Narrow alcoves or staircase walls that require a tall, slim arrangement to fit the brickwork.
Trying to cut these windows yourself with a craft knife and a steel ruler usually ends in frayed corners and wasted board. At Picture Frames Express, our workshop uses a computerised mount cutter to slice every bevelled edge to the exact millimetre. You get crisp, 45-degree corners that never overlap or tear, even when you combine oval, circular and rectangular openings on the same board.
How do you design a custom layout online?
You can build your own arrangement from home using an online frame designer without needing any technical drawing skills. Grab a tape measure, jot down the exact height and width of the areas you want to show, and type those figures straight into the tool.
Remember to subtract 5mm from each side of your photo measurements so the card catches the paper edges cleanly. The preview screen updates in real-time as you add windows, adjust the border widths, and test different mount colours against your chosen frame moulding.
Once your spacing looks balanced on screen, our team cuts the mount board, builds the frame to match, and ships the finished kit straight to your door ready for your prints.
Common questions about multi-aperture photo frames
How do I stick photos into a multi-aperture mount without them slipping?
Acid-free framing tape is the safest way to hold your prints flat behind each window. Tape just the top edge of the photo to the back of the mount board so the paper can expand and contract naturally with room temperature changes. Avoid standard household sticky tape or glue dots because the adhesive dries out over time and leaves yellow stains on your pictures.
What is the best mount colour for a frame with lots of different photos?
Off-white, soft cream, and pale grey mounts work best when your photos have different lighting or colour tones. A neutral card acts as a quiet buffer between a bright beach snapshot and a moody indoor portrait. If all your prints are black and white, a crisp black or charcoal mount pulls the collection together and adds strong contrast.
Can I put circular and rectangular windows in the same picture mount?
Mixing round, oval, and rectangular cut-outs in a single board is completely doable with our online frame designer. Circular windows work brilliantly for softening a strict grid, especially when you place a round baby portrait or a pet photo in the centre of 4 rectangular prints. Just make sure you still allow a 5mm overlap all the way around the curved edge so the paper stays tucked behind the bevel.
How many photos can I fit into one large frame before it looks too busy?
Stick to between 3 and 8 prints for most standard wall spaces so each picture gets noticed. Once you push past 10 openings, the frame gets very heavy and the layout can start looking a bit cluttered unless the prints are tiny. Splitting a huge holiday collection across a pair of matching multi-aperture photo frames usually looks much cleaner on your living room wall.
Should I use glass or acrylic glazing for a large multi-aperture frame?
Acrylic safety glazing is the smartest choice once your overall frame size goes past about 500mm by 400mm. It weighs half as much as traditional glass, which makes a huge difference when you are hanging a wide frame holding 6 or 8 prints on plasterboard. Our acrylic looks optically identical to glass on the wall and will not shatter if someone bumps into it in a narrow hallway.
How thick should the outer border of the mount board be?
An outer border between 40mm and 60mm gives most multi-aperture layouts enough visual support around the edges. Make the outer margin wider than the 15mm to 20mm bridges between your photos so the whole group looks held together in the middle. Skimping on the outer border makes the pictures feel squashed up against the wooden moulding.
Can I frame a thick medal or pin badge next to flat photos?
Standard picture mounts press the glazing flat against the artwork, which means a chunky medal will stop the back of the frame from closing properly.
You can easily get around this by ordering a deeper box frame moulding or adding a double mount to create a tiny bit of extra breathing room for flatter keepsakes like ribbon or fabric patches. For proper 3D items like a chunky sports trophy or a sea shell, a dedicated deep box frame is a much safer bet.
How do I hang a wide multi-aperture frame so it stays level?
Two heavy-duty D-rings screwed into the left and right sides of the back of the frame will stop a wide layout from tipping whenever someone walks past. Hanging a long frame from a single central cord means it will inevitably tilt to one side the first time you dust it. Measure the distance between your 2 wall plugs with a spirit level, and the frame will sit dead straight from day one.
Design Your Custom Multi-Aperture Frame Today?
Stop struggling with individual frames and uneven walls. Use our online builder to create a precision-cut mount that holds your collection in one beautiful, easy-to-hang frame.

