


Tips and Tricks For Creating A Staircase Gallery Wall
Staircase gallery walls are becoming increasingly popular in modern decorative arrangements. With a bit of preplanning, a few tools and some creativity you can add one in your home. We have compiled a list of handy tips and tricks to give you some ideas and make creating your own staircase gallery wall a bit easier. If you have seen a staircase gallery wall online or in a magazine and thought one would look great in your home you have come to the right place. Our tips and tricks will, hopefully, make that dream a reality.
Tip 1 – Plan Before The Hammer Comes Out
Before you go ahead and make any holes in the wall we advise you to consider some visual preplanning. There are two ways you can do this. For the tech savvy amongst us we recommend you use Photoshop or, if you don’t have access to Photoshop, use an online free alternative like Photopea. If the thought of using either of those programmes gives you a headache we encourage you to rummage through the arts and crafts cupboard. Arm yourself with some large sheets of paper and a pair of scissors and you are good to go.
You will first, before deciding anything, want to try out different display configurations and iron out all the details. If you are using Photoshop or Photopea to do this you will want to take photos of what you wish to display and import them into your chosen programmes. You may wish to take a photo of the display wall too. Once you have done this, spend some time arranging the photos on the wall. Create some display configurations in different shapes and sizes.
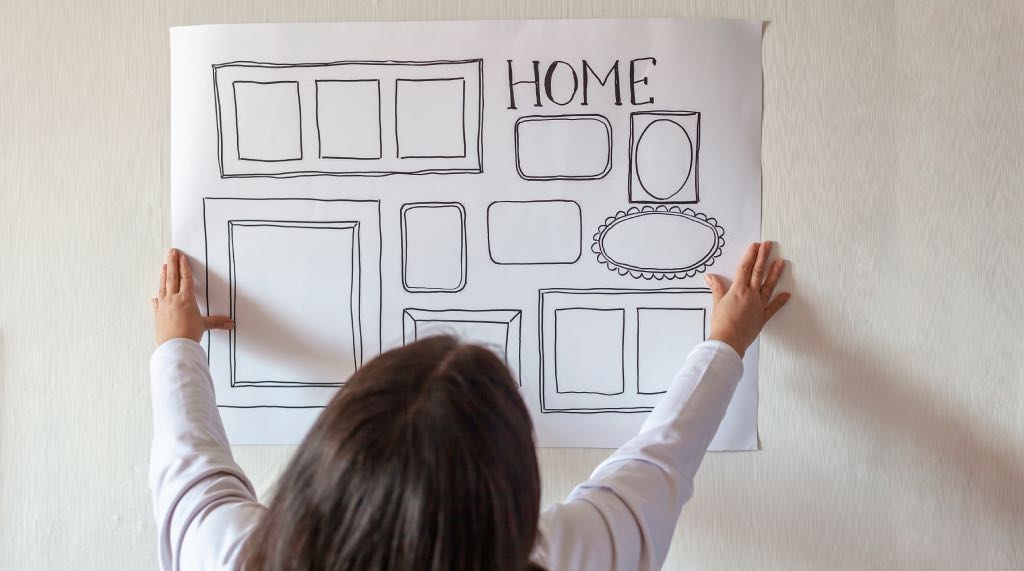
If you are keeping it old school you will want to take one large sheet of paper (representing your wall) and cut some smaller squares out of paper or card that will act as your frames. If you want to go all out you could print off some images of what you wish to display. After this, as you would on Photoshop, spend some time arranging the squares of paper on the larger sheet into a configuration you like. Don’t be scared to get creative and experiment with size and positioning. If you get this stage right it will mean when you come to arranging the display on the wall for real you will not be disappointed.
Top Tip: if you cut your paper plans to the exact size of the frames you’re planning to use you can stick these to the wall to act as a guide for drilling your holes in the perfect spot
Tip 2 – Layout
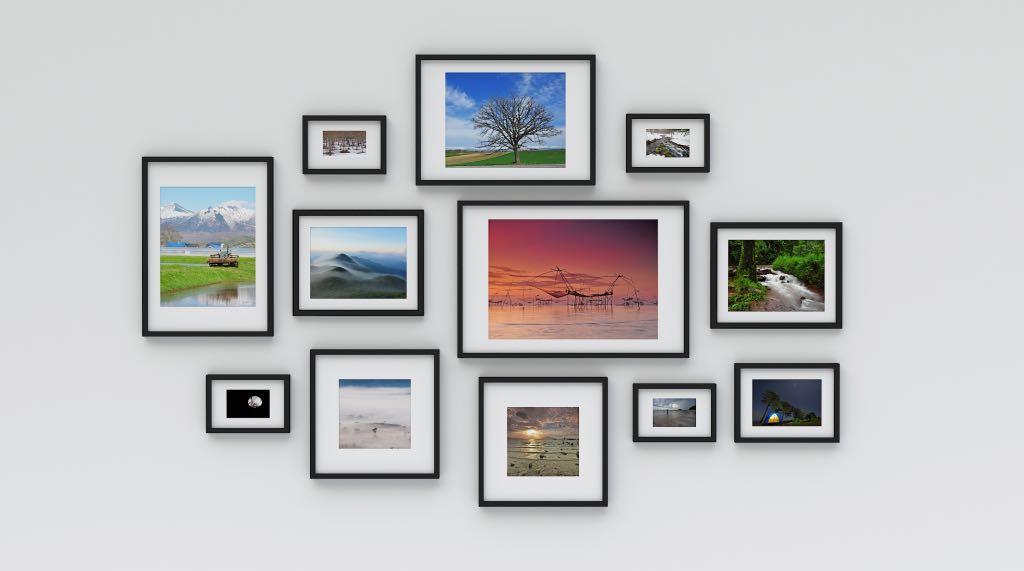
The layout or configuration of your display will be the difference between creating a cluttered or balanced display. A good place to start if you are stuck with layout ideas is Pinterest. There are tonnes of great layout suggestions on there which saves you the hassle of creating one yourself. Alternatively, if you are feeling brave, you can create a layout yourself. You will want to ask yourself a few questions: Are the frames going to be staggered at various heights? Are we going to use different size frames throughout the display?
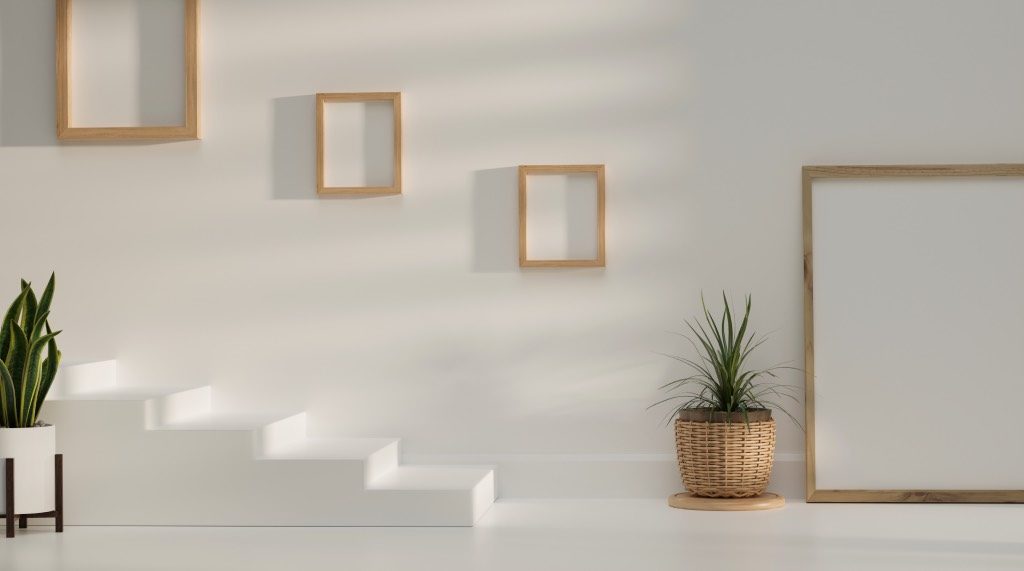
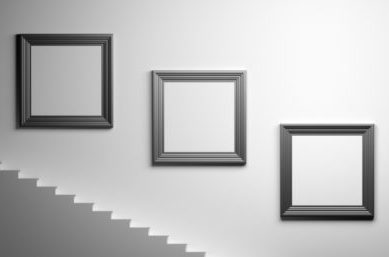
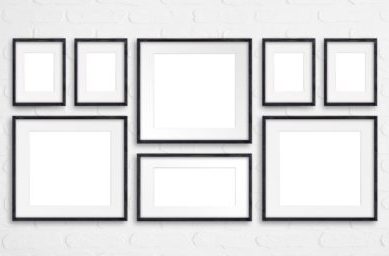
We have attached a few images below that should give you some basic layout ideas.

Tip 3 – Command Strips Are Your Best Friend
If you are the type of person who changes their mind easily or likes to change things up often then no-drill options such as command strips could be very useful. Command strips are not as final as a nail in the wall and will allow you to change the layout or design of your display more easily. These are great if your display is made up of smaller frames. If you are planning and displaying larger frames, however, then you should look to use more traditional, secure methods of hanging your display.
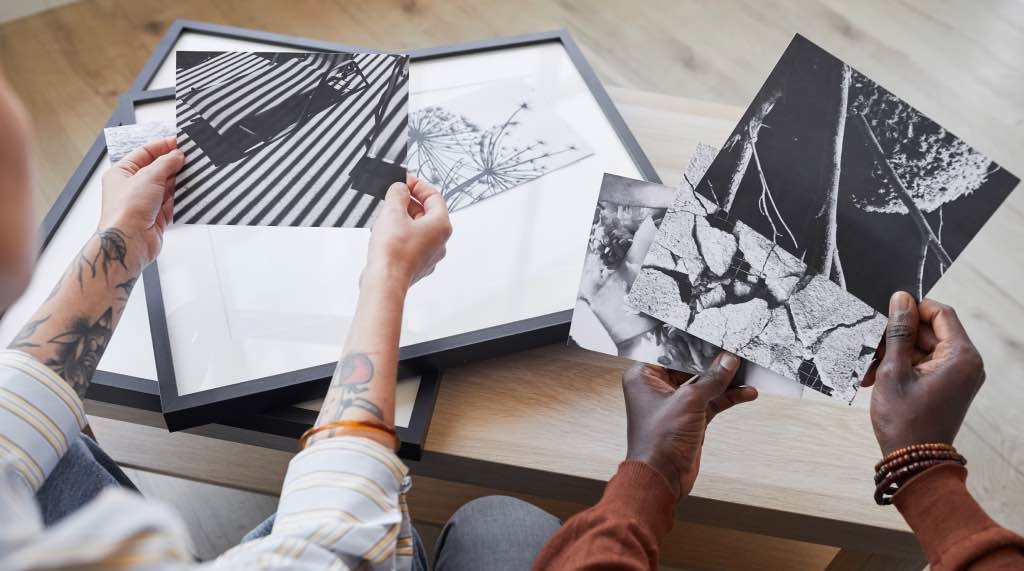
Tip 4 – Frames Need A lot Of Love
Ok, we may be slightly biased here. However, the frames you choose are going to be the centrepiece of the display so we think they deserve a lot of love. There are a few things you will want to consider when choosing the frames for your display. For example, are you going to use a range of frame styles or keep them all similar? You may wish to think about the material of the frames also and how this will accompany your flooring/ staircase. We have a large selection of frames to choose from in a variety of styles and materials. Visit the Picture Frames segment of our website for frame ideas for your display.
Tip 5 – Assess Your Staircase Size
The size of your staircase will determine the amount of frames you can include in your display. For narrower staircases, for example, using a lot of frames will likely result in a cluttered display. Here you may wish to use a few bigger frames for your display as opposed to lots of smaller frames. Of course for wider staircases you have the freedom to hang more frames without the display looking jumbled.
Tip 6 – Ensure Your Display Frames Are Not Too Low
Ensuring the display is not placed too low to the floor will help to avoid the frames being knocked or pulled off the wall. This tip is especially important if you have young children as a configuration with larger frames could be a dangerous hazard to a child. Think about whether your display is going to be eye height or positioned so it can be seen over the bannister.
Tip 7 – Theme or No Theme
When you are deciding what exactly you are going to display you may want to consider themes. Is your display going to be a collection of random prints, or is it going to follow a theme? Perhaps it will be a display dedicated to your travels or an assortment of family photos. The possibilities are endless. We do advise, however, that you either commit to a theme throughout or go for completely different looks in every frame to ensure a cohesive style throughout
We hope you enjoyed our Tips and Tricks For Creating A Staircase Gallery Wall. For more tips and advice visit the Interior Design section of blog!

