


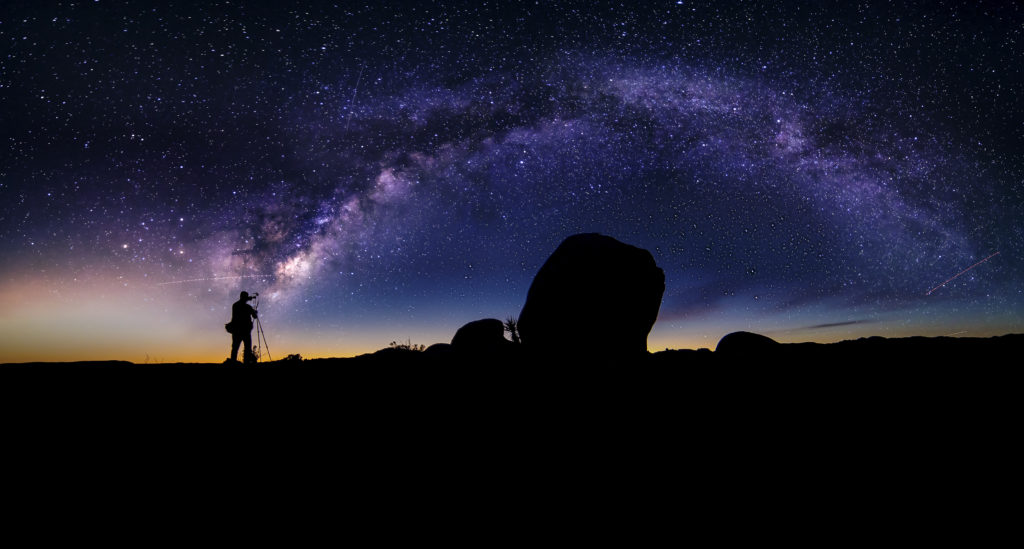
Night Photography Tips for Beginners
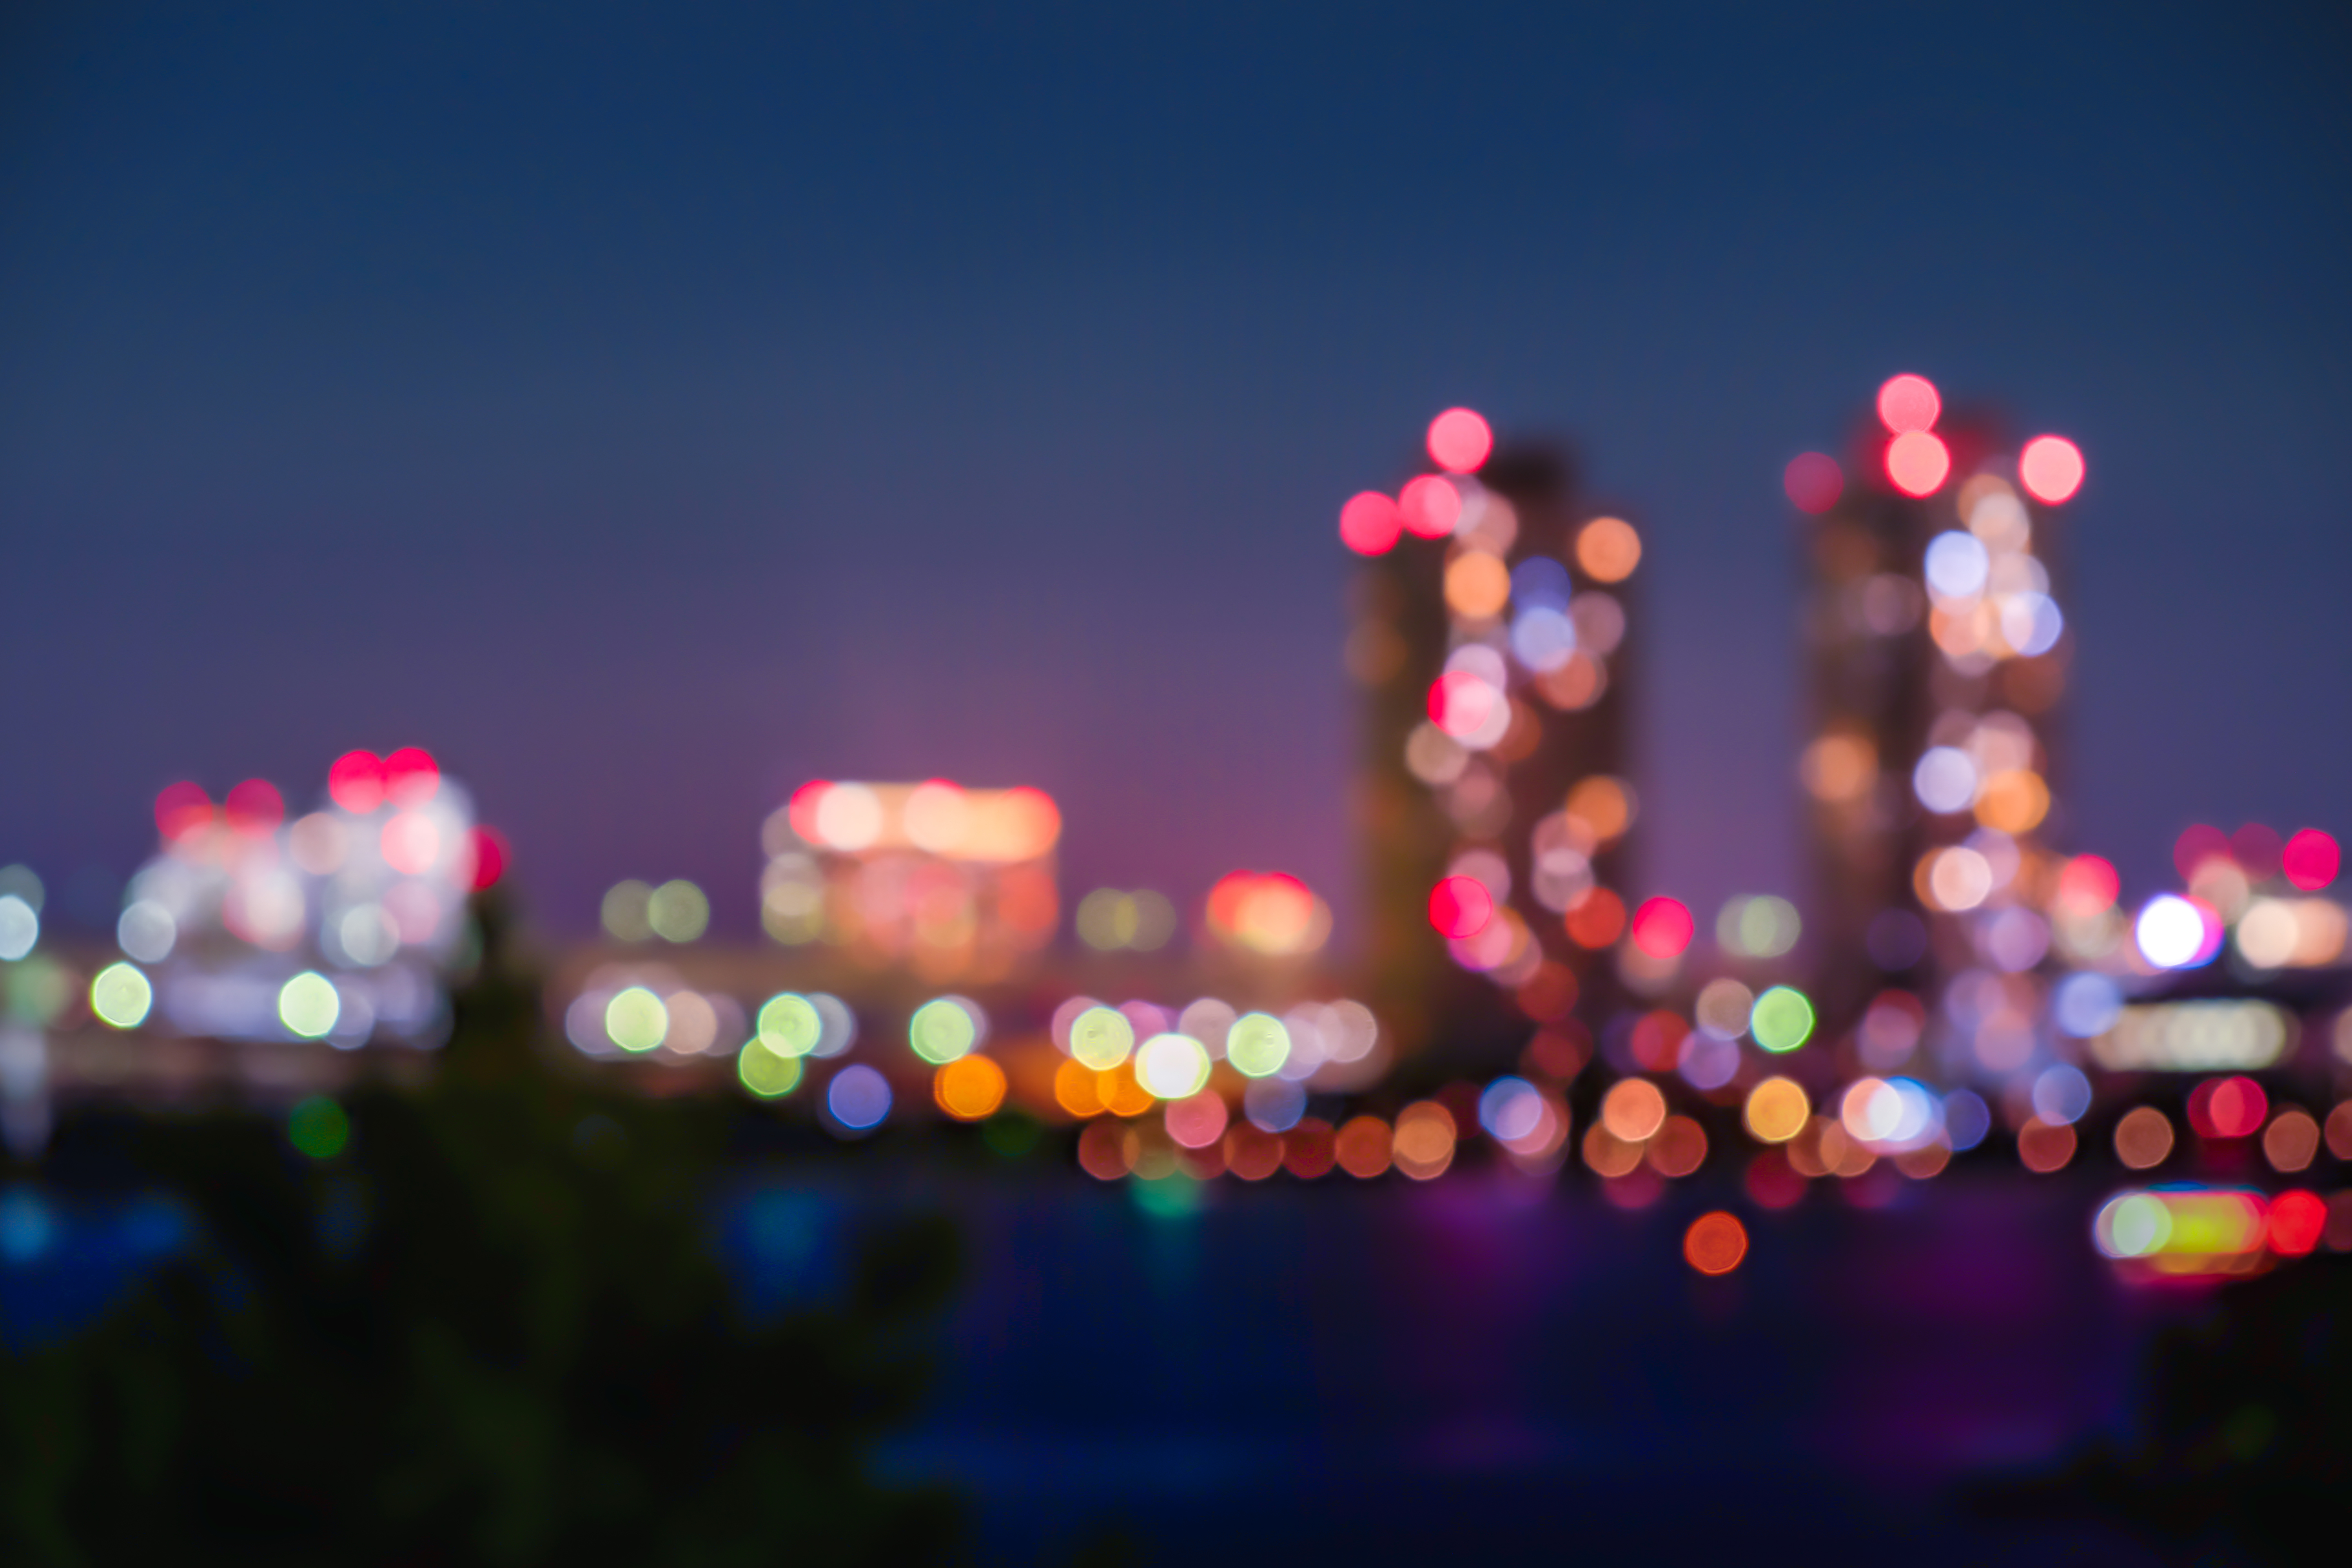
Taking pictures at night can be quite tricky for beginners to really get the hang of. It requires a lot of manipulation of the camera settings to get the picture just right; from ISO to file formats, we’ll help you through the process of taking the best night time pictures.
Don’t be afraid of the dark, with our helpful tips you’ll be shooting the night in no time at all!
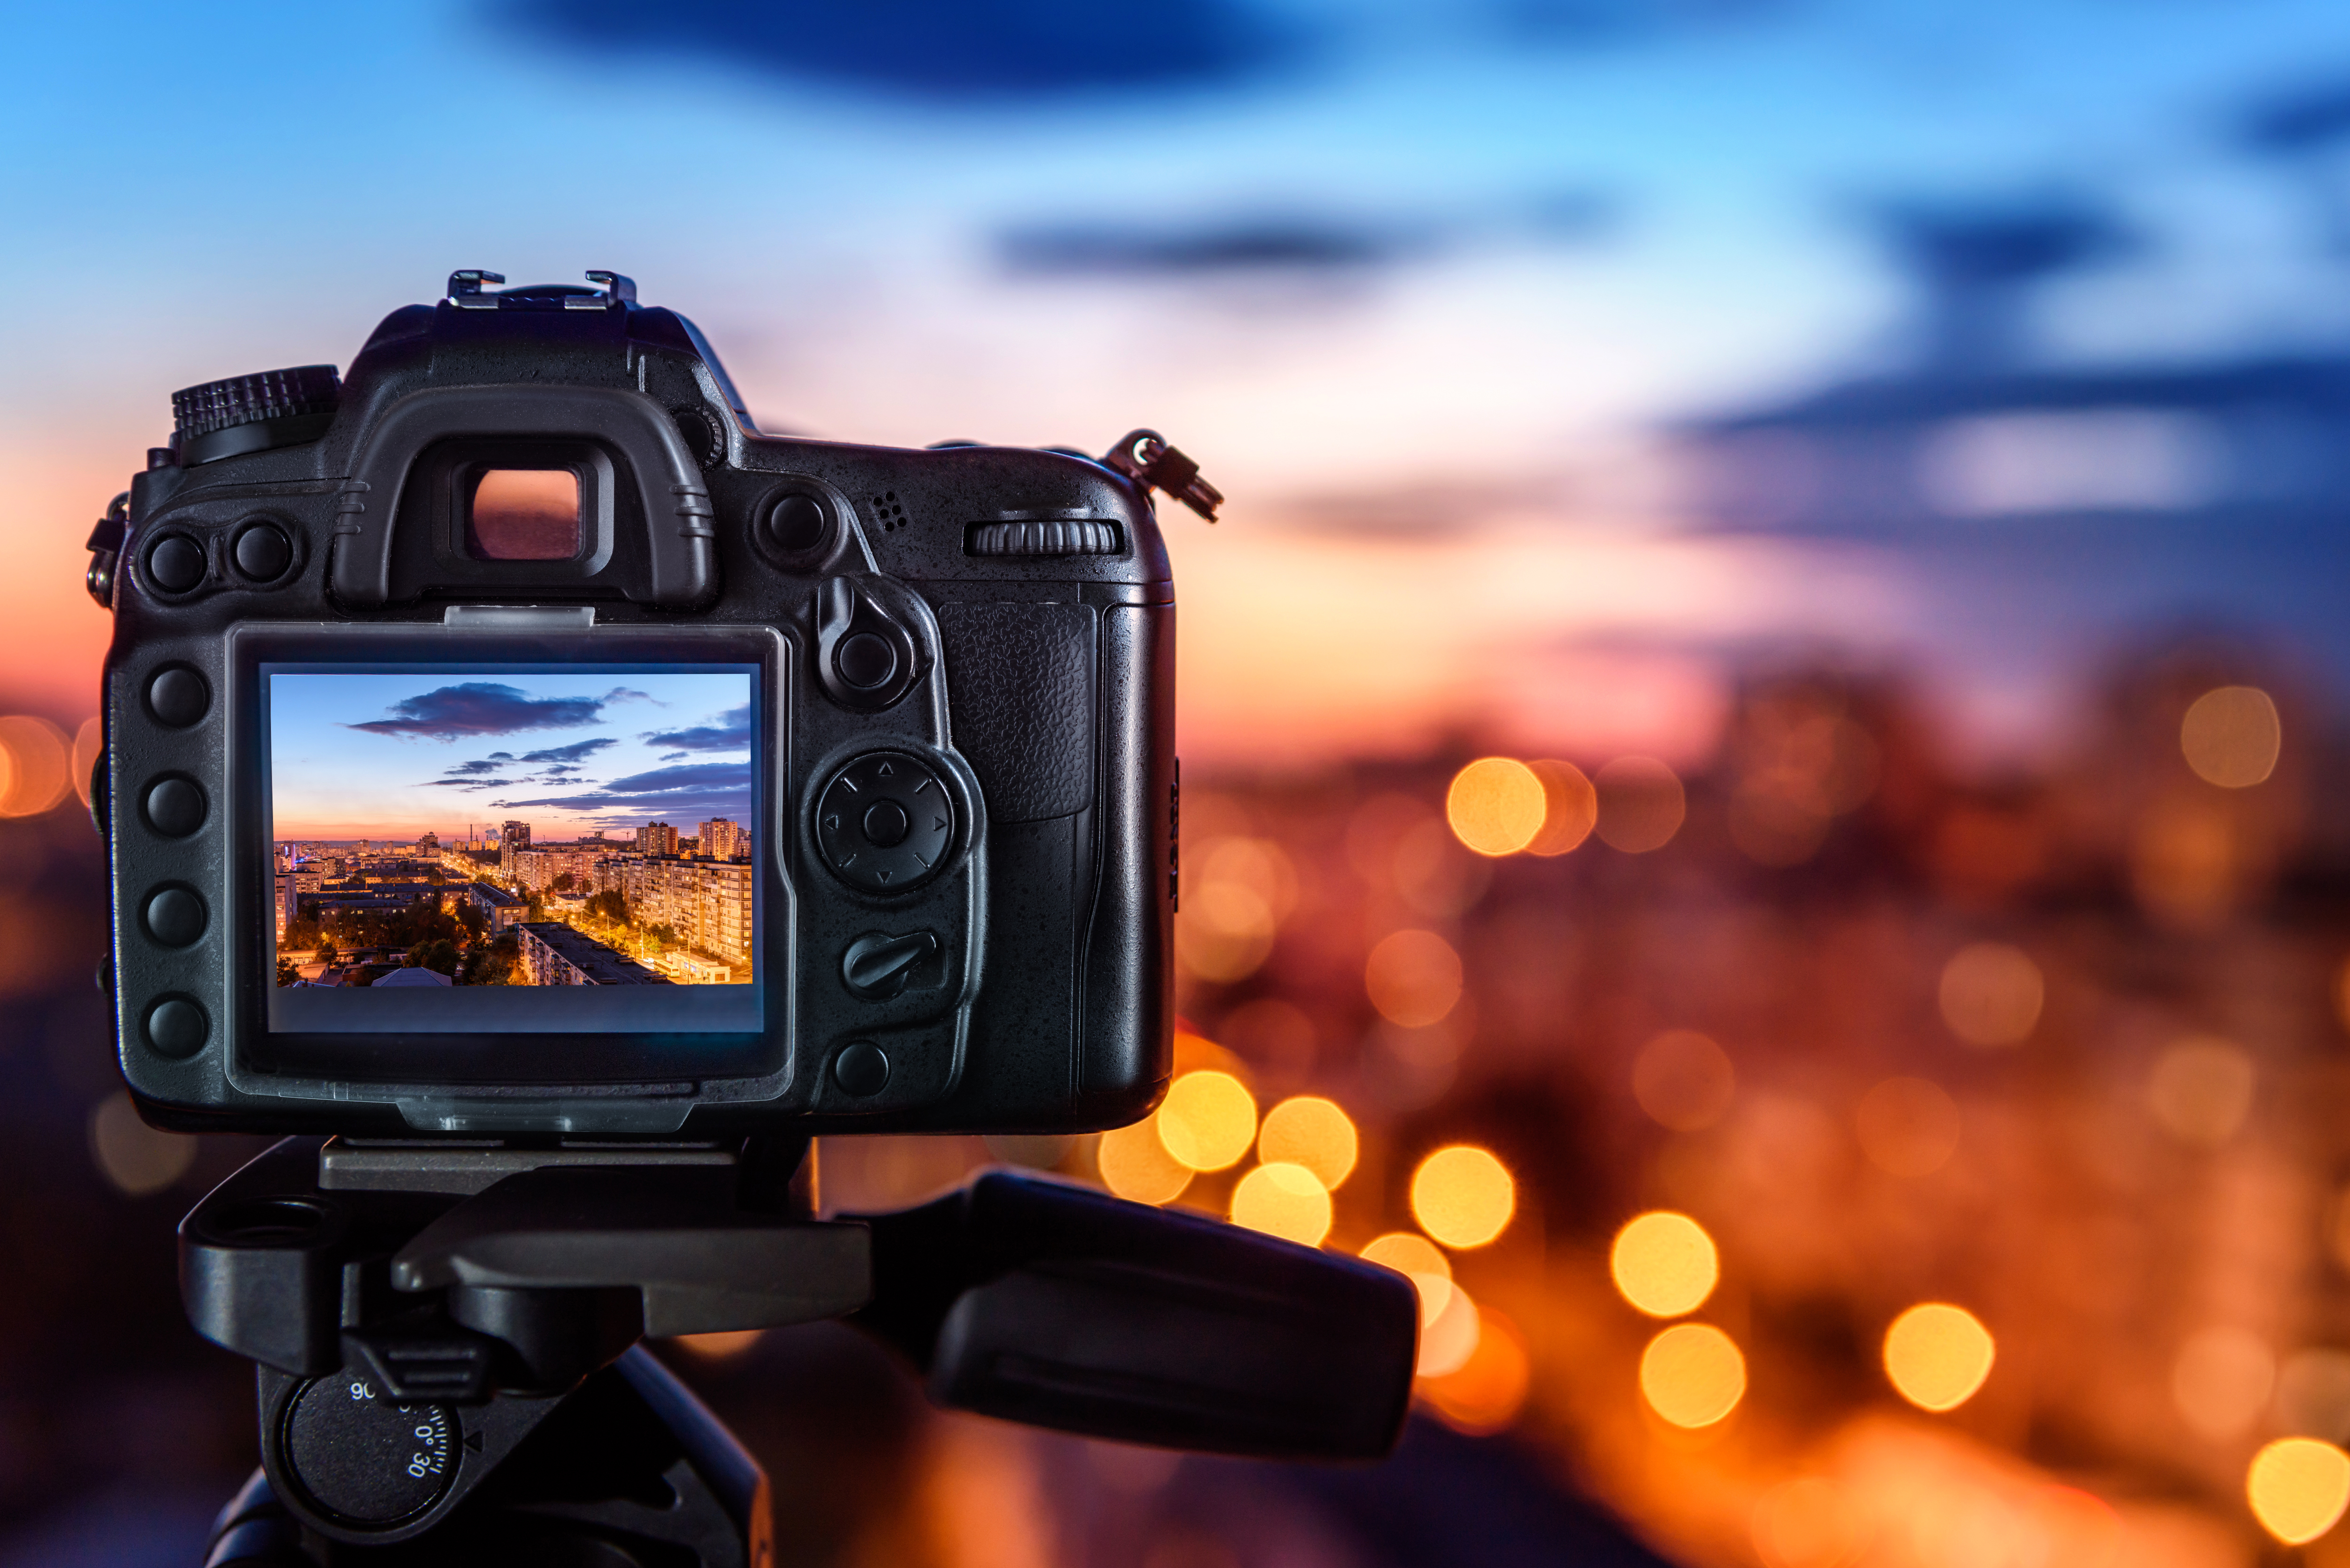
Have the right equipment
Before dipping straight into getting that all perfect shot, you need to be sure you’re ready with the right equipment. Ensuring your camera is up to date and can handle the shots you want to take is a good place to start. Having a tripod is a must-have for night times. Taking shots in darker conditions requires long exposure, which means your camera has to be steady at all times else the image may blur or come out low quality.
Use a manual focus
The autofocus feature is a great feature in modern photography, whether it’s on your smartphone or on your camera, but at night the feature can run into problems. Due to the dark surroundings, the camera will struggle to focus and adjust as it tries to focus on any light source. When you switch your camera to manual focus, it won’t randomly pick somewhere to focus and will give you the control back. This technique may take a while to get used to and your camera may even switch back to autofocus without you knowing, but it’s more reliable than your autofocus in poor lighting.
Use a low ISO setting
Using a high ISO will help at night, however, it’ll leave a lot more noise in your images than you’ll want – leaving your images less than satisfactory. High-end cameras, owned by professional photographers and such can use high ISO and leave little noise behind, however, if we are focusing on lower end cameras for those just starting out – it’s best to stick with a low ISO.
Learning what your camera can do on each ISO setting will also allow you to understand which is best for the shot you want, so take some test shots with each setting and see which turns out best, then you can decide if you want to continue using that setting.
Play with shutter speeds
If you want to capture moving objects like planes, cars or anything else that emits light, then switch your camera setting to Shutter Priority. Just select the shutter speed, and let the camera automatically select the aperture to go with it. This mode helps you produce captivating light streaks and glowy landscapes at night!
We also recommend test shots with different shutter speeds to see which works best for you, and remember, the slower the shutter speed, the longer the light trails.
Shoot RAW
When shooting in the dark or at night, we highly recommend switching your camera file setting to RAW. RAW files do take up a lot of space and memory on your external storage or SD card however, they preserve the images you take a lot better than a JPEG or any other format.
However, this doesn’t mean you can’t ever take shots in JPEG or any other format – they’re just fine; the quality just won’t be as good as a RAW format.
Edit your images
A crucial part of equipment for any photographer is their photo editing software. Using software, like Adobe products, gives you the ability to touch up and correct your raw images. Editing your images can make or break your photographs. We recommend playing around with exposures, sharpening your images and colour corrections as these can make all the difference to your shots.
—
Let us know if you use any of our tips by tagging us on Instagram or Twitter using #framesexpress
Looking for some more photography tips? We have some right here on our blog.
- Ideas for Garden Photography
- Underwater Photography Tips
- Home Photography Ideas
- Food Photography for Beginners
- Creative Tips for Street Photography
- Black and White Photography
- Seascape and Beach Photography
- Tips for Winter Photography
- Dog and Pet Photography
Picture Frames Express

