


Fit an item - Aluminium frame

 |
|
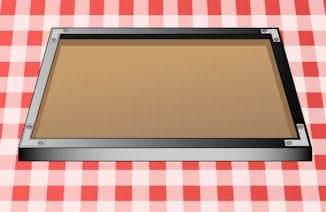
Lay your frame face down onto a clean, flat surface. You will notice there are little springs inside the back edge of the frame and corner plates, We will remove these on the next step |

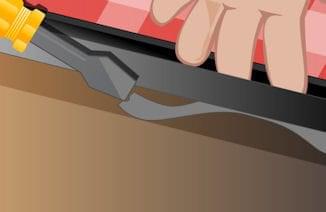 |
| Using a flat head screwdriver, very carefully remove the springs from inside of the frame there is an indentation on each side of the spring to make removal with a screwdriver easy. We suggest you put your hand over the spring before it is released in case it springs out ! |

 |
| Repeat the process of removing the springs until all springs have been removed and then position the frame in the orientation of the item to be put inside. |

 |
| If you look at the corner of the frame section, you can see a little Metal corner plate with a screw though the middle. |

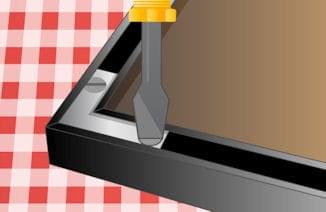 |
| Using a Flat head screw driver, un-tighten each screw on the bottom left corner plate. |

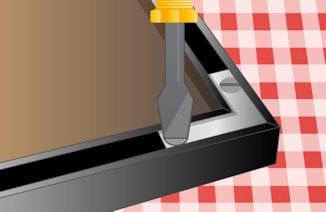 |
| Repeat the process above on the bottom right corner plate. |

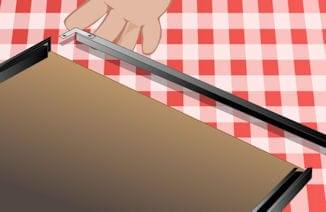 |
| Slide out the complete section of the frame. |

 |
| Slide the glazing and backing out from inside the frame. |

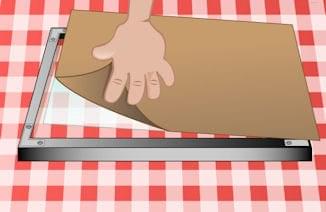 |
| You can now remove the protective cover on the glazing, please remember the glazing always has two protective covers on and these need to be removed from both sides, it is vacuum packed on and can sometimes be tricky to see; if you dig your nail into the corner it will be revealed. |

 |
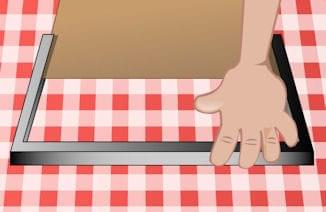
| With the protective covers removed from the Plexiglas, place the item you are framing in between the MDF backing and the Plexiglas, be careful to keep at least the inside of the Plexiglas nice and clean, as you can always clean the outside afterwards. |

| |
| Carefully slide the glazing, item and backing back into the frame. |

| |
| Slide the top section back in. |

| |
| Now make sure all four corners of the frame meet up and align correctly, make adjustments as necessary and then tighten all screws on all corner plates. |

| |
| Using a flat head screwdriver push the springs back in under the inside of frame. |

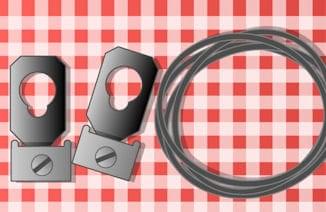 |
| You will have two hanging plates and cord. We usually put the hanging plates into the frame channels for you but just in case you have to move or re-position them. |

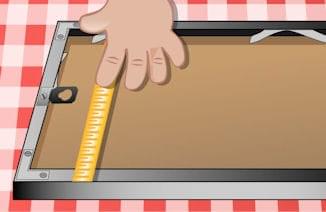 |
| Measure down from the top of the frame section, and place the hanging kit into the channel |

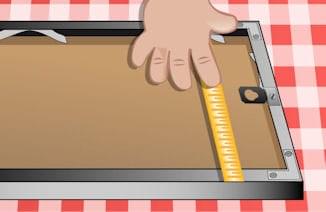 |
| Repeat step above on the other side. |

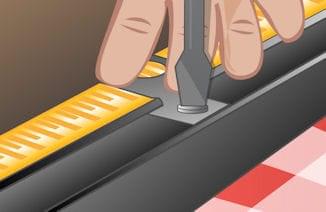 |
| Check the position of each hanging plate is set the same distance from the top of the frame and then screw down tight. |

 |
| Loop the cord through the two d-rings and tie up as securely as possible. |

